The Child’s Schedule feature allows you to set and manage a child’s enrollment timeline within your facility.
1. Navigate to dailyconnect.com
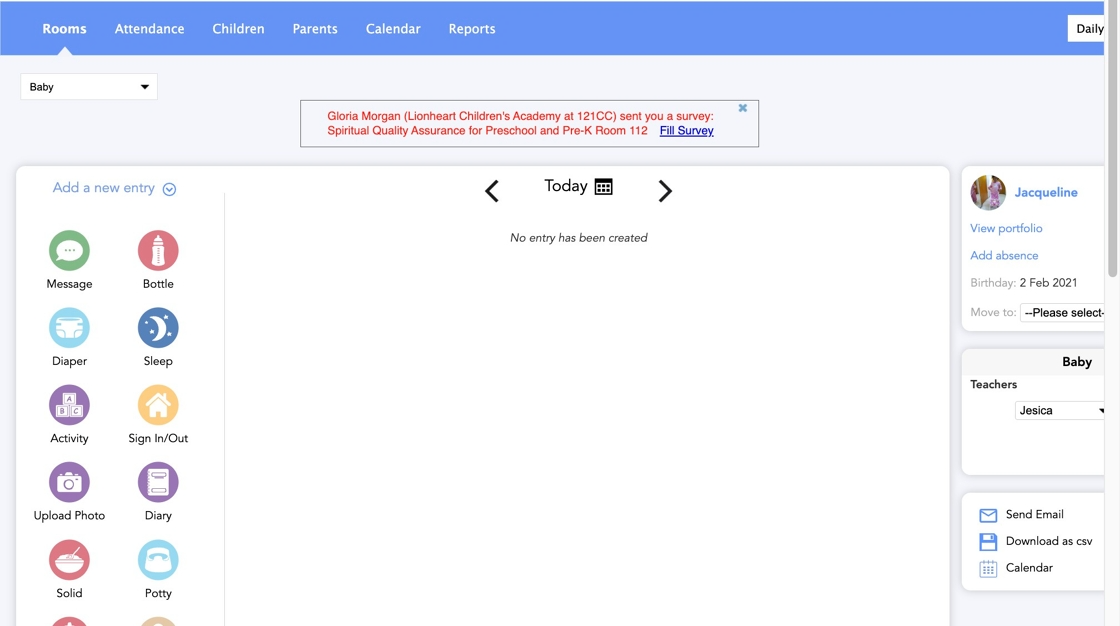
2. Click "Children"
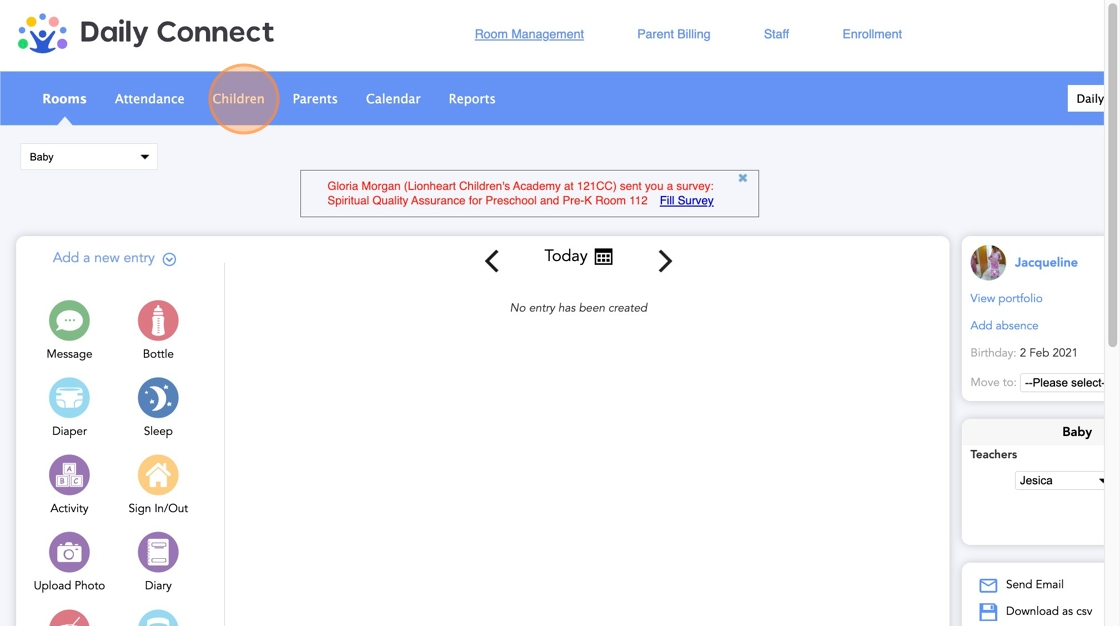
3. Click on the child that you want to edit.
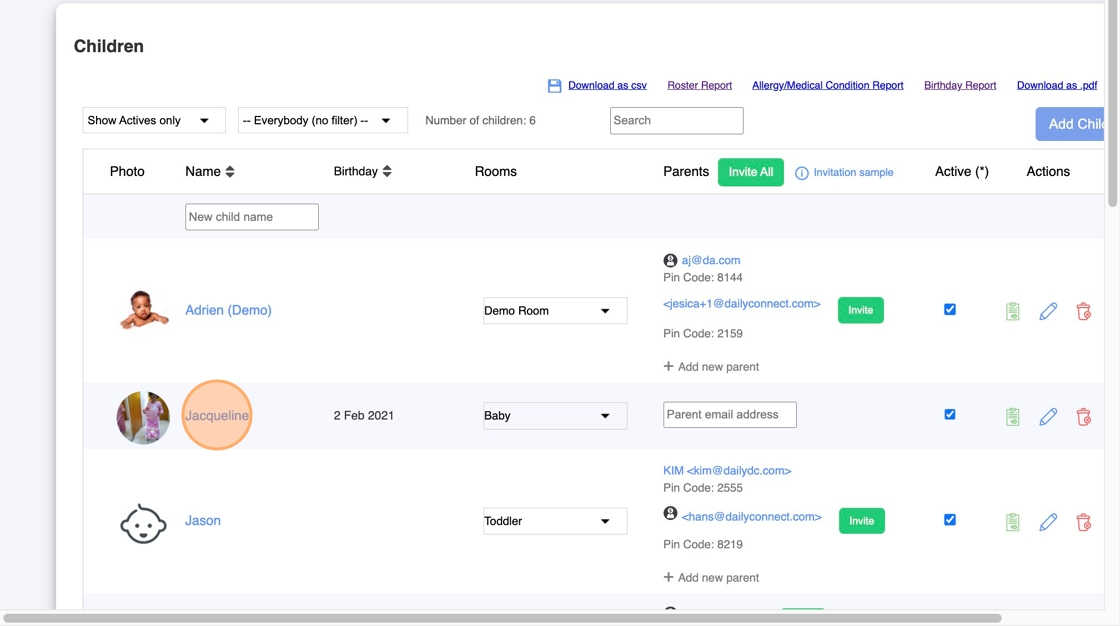
4. Click "Schedule"
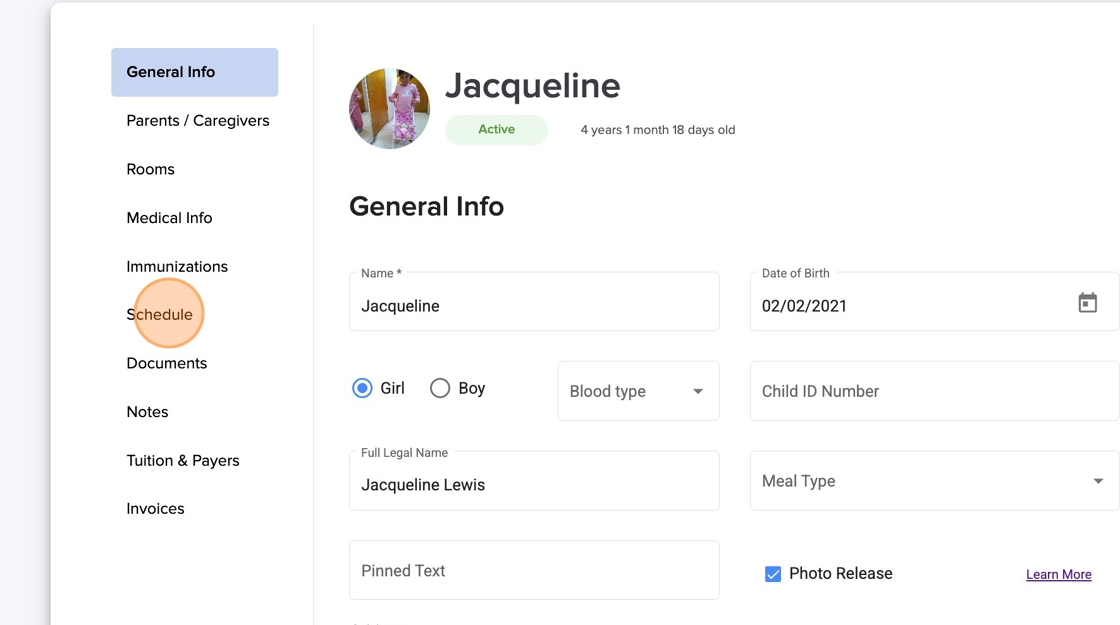
5. Enter the start date, classroom and end date
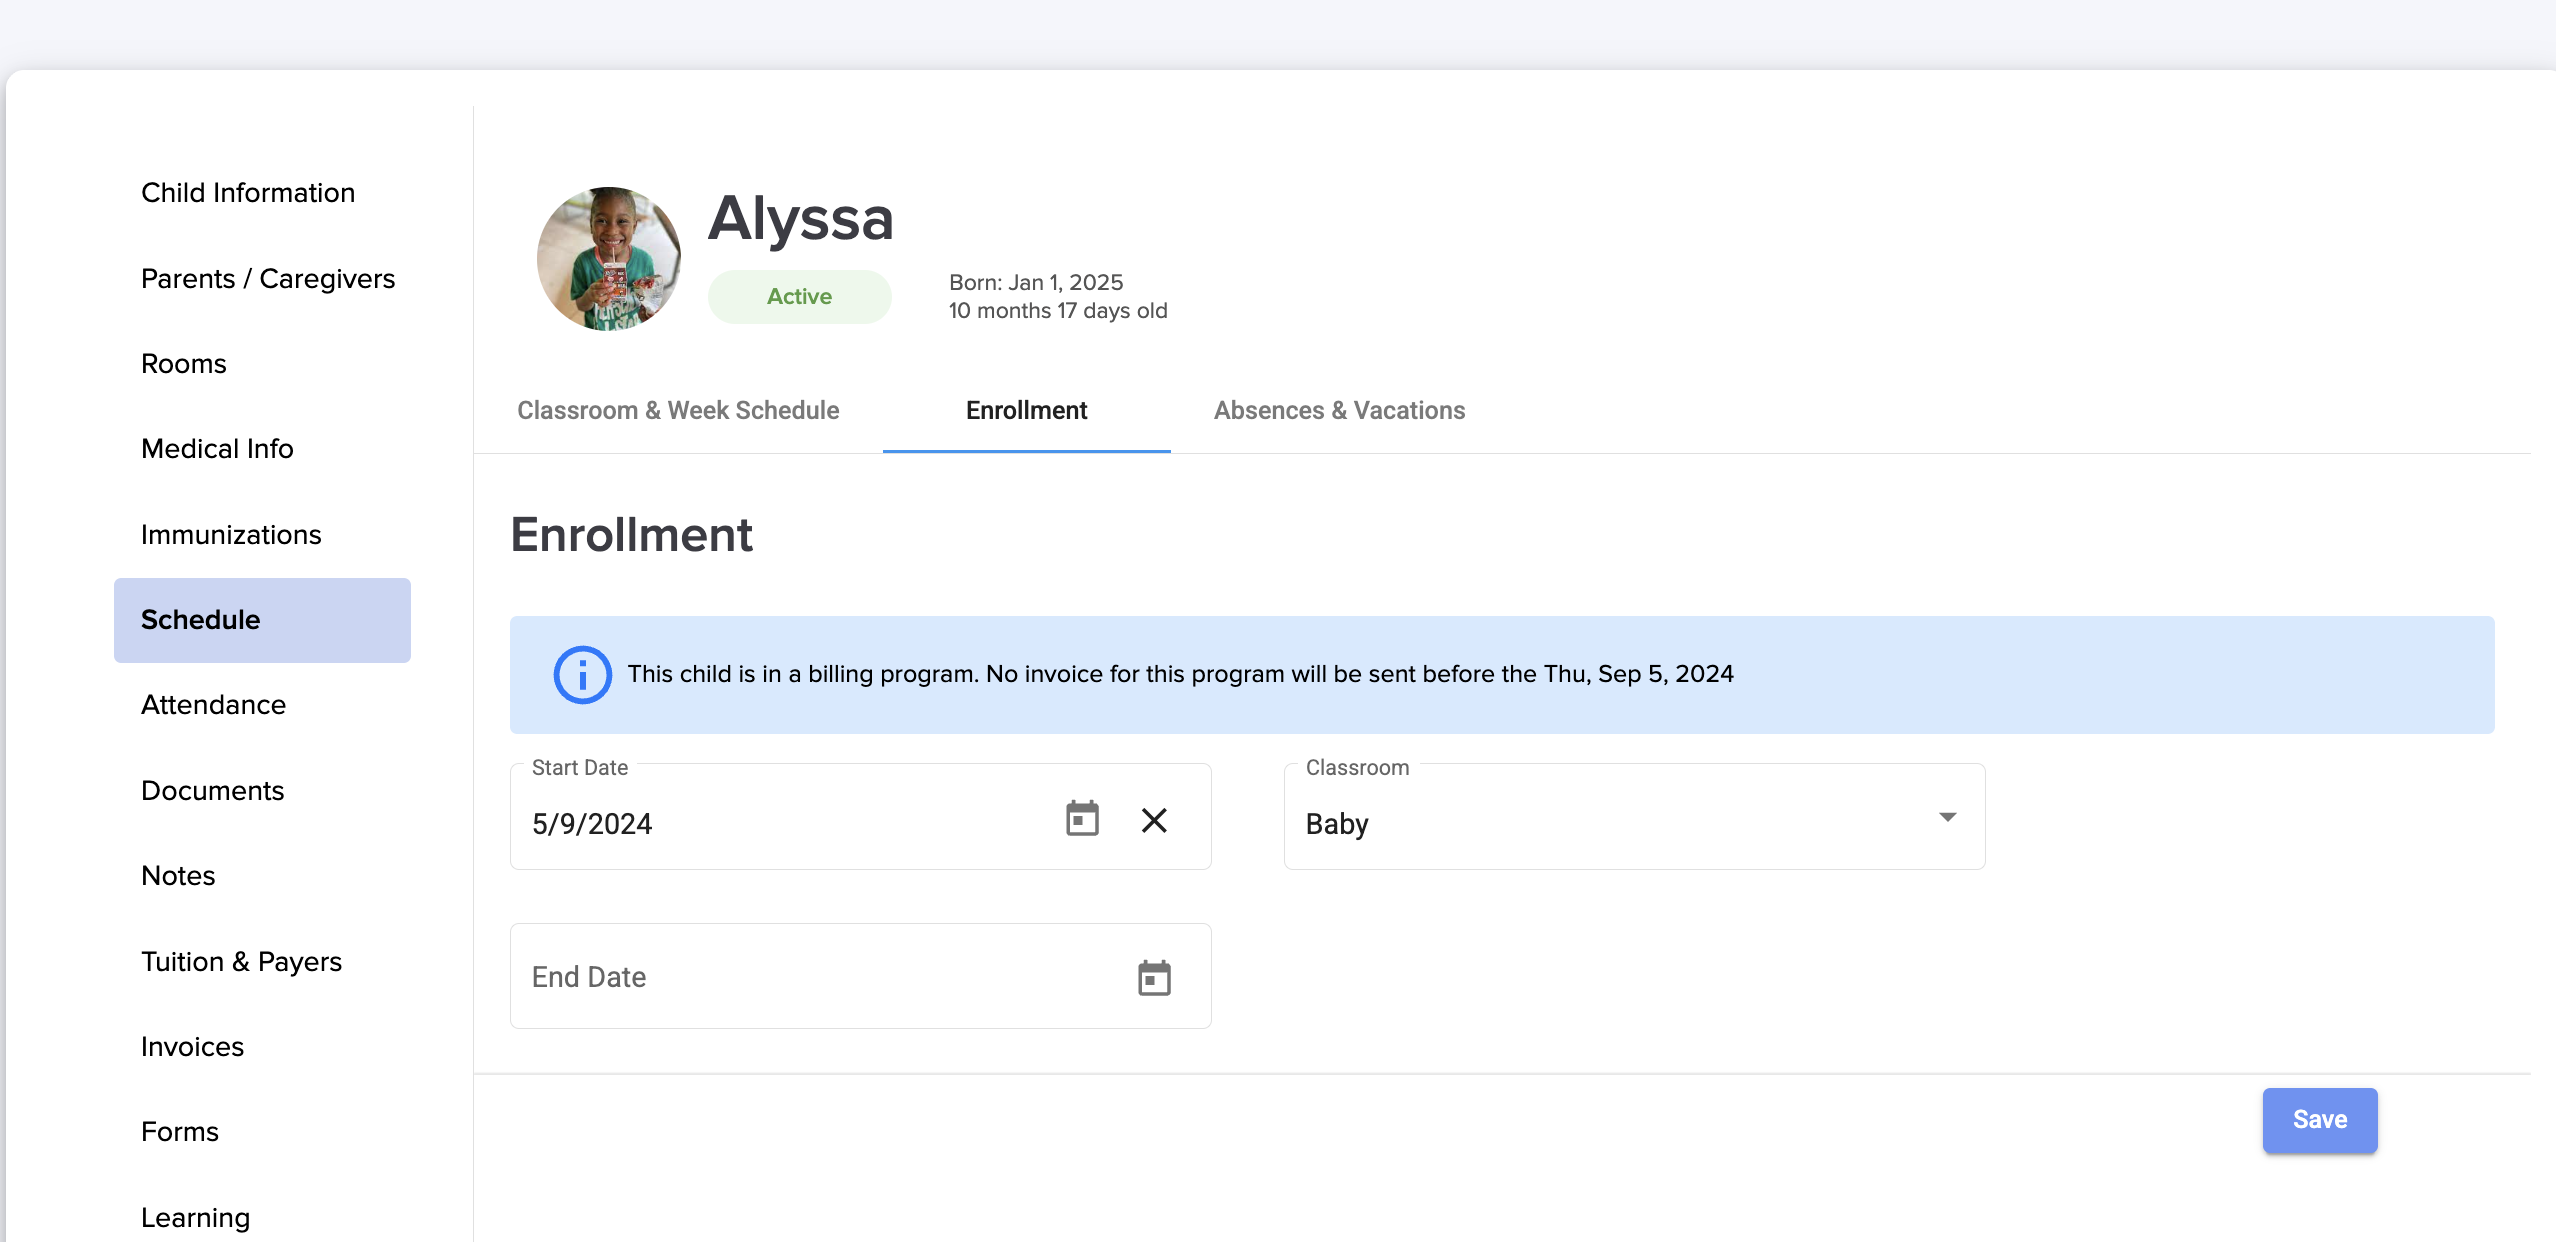
If you set an End Date — for example, September 1st — the child's status will change on that date.
If you want September 1st to be the child's last active day, set the End Date to September 2nd instead. On the End Date, the child will be removed from all classrooms, and their profile will be marked as "Graduated" or "Removed," depending on which status you selected when setting the End Date.
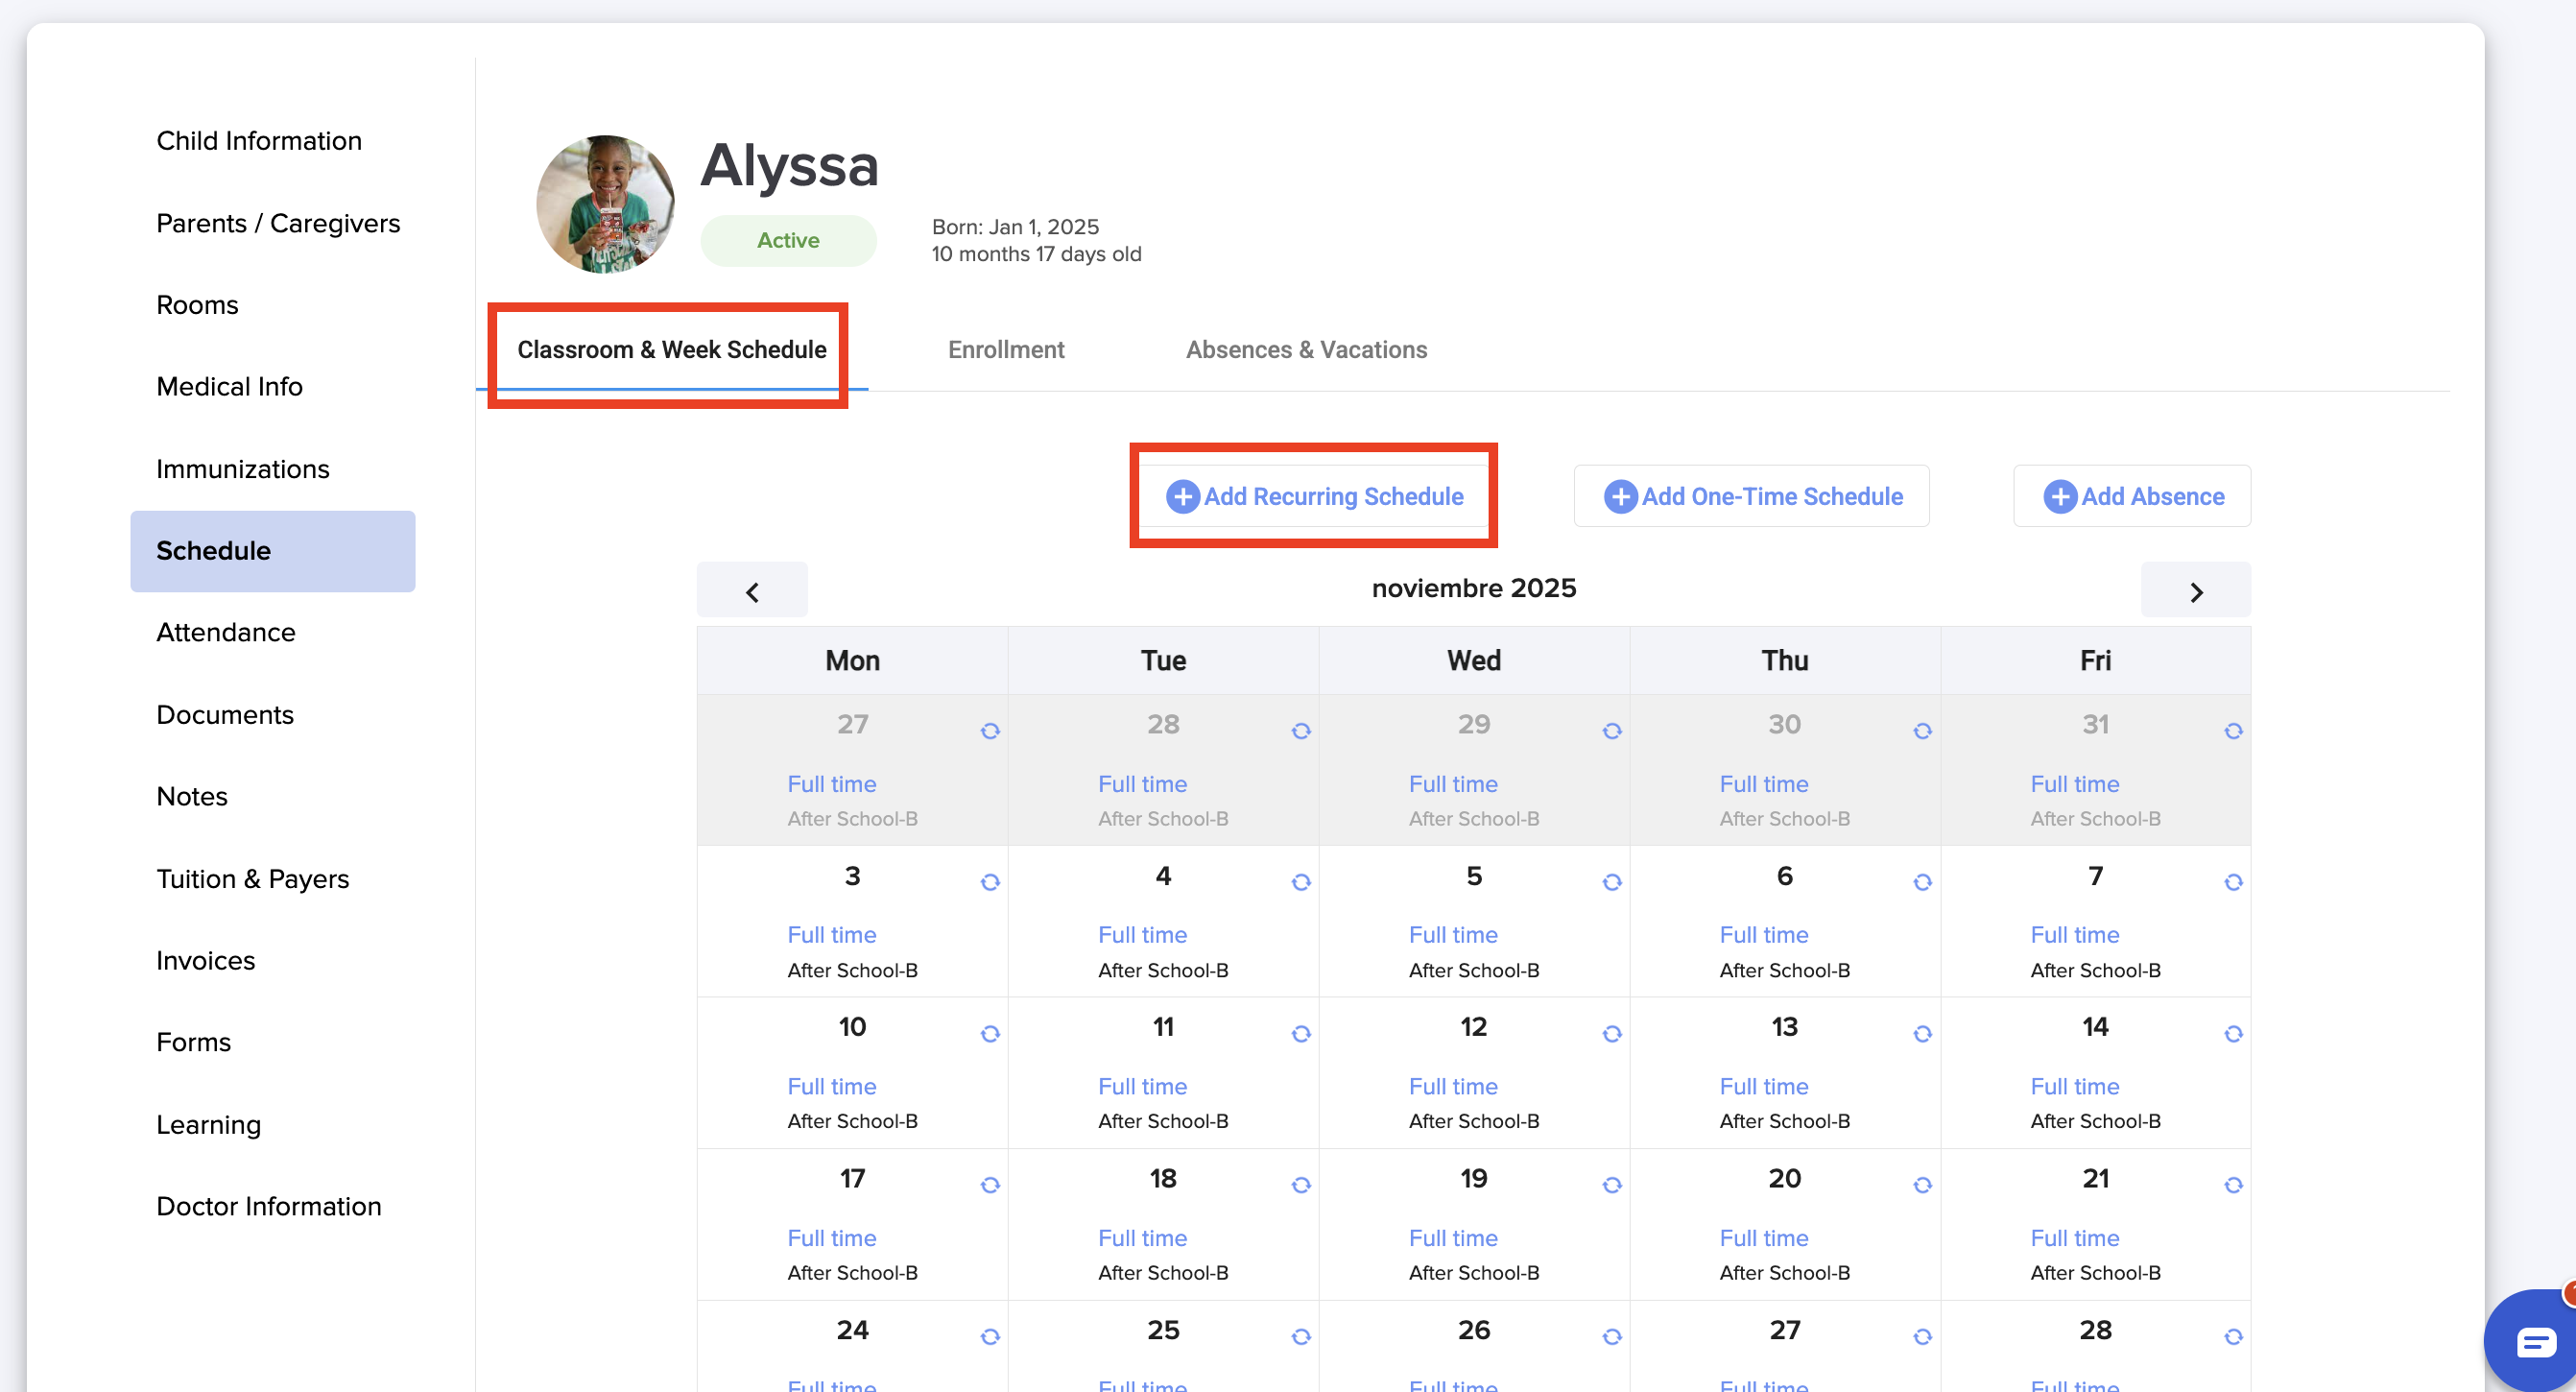
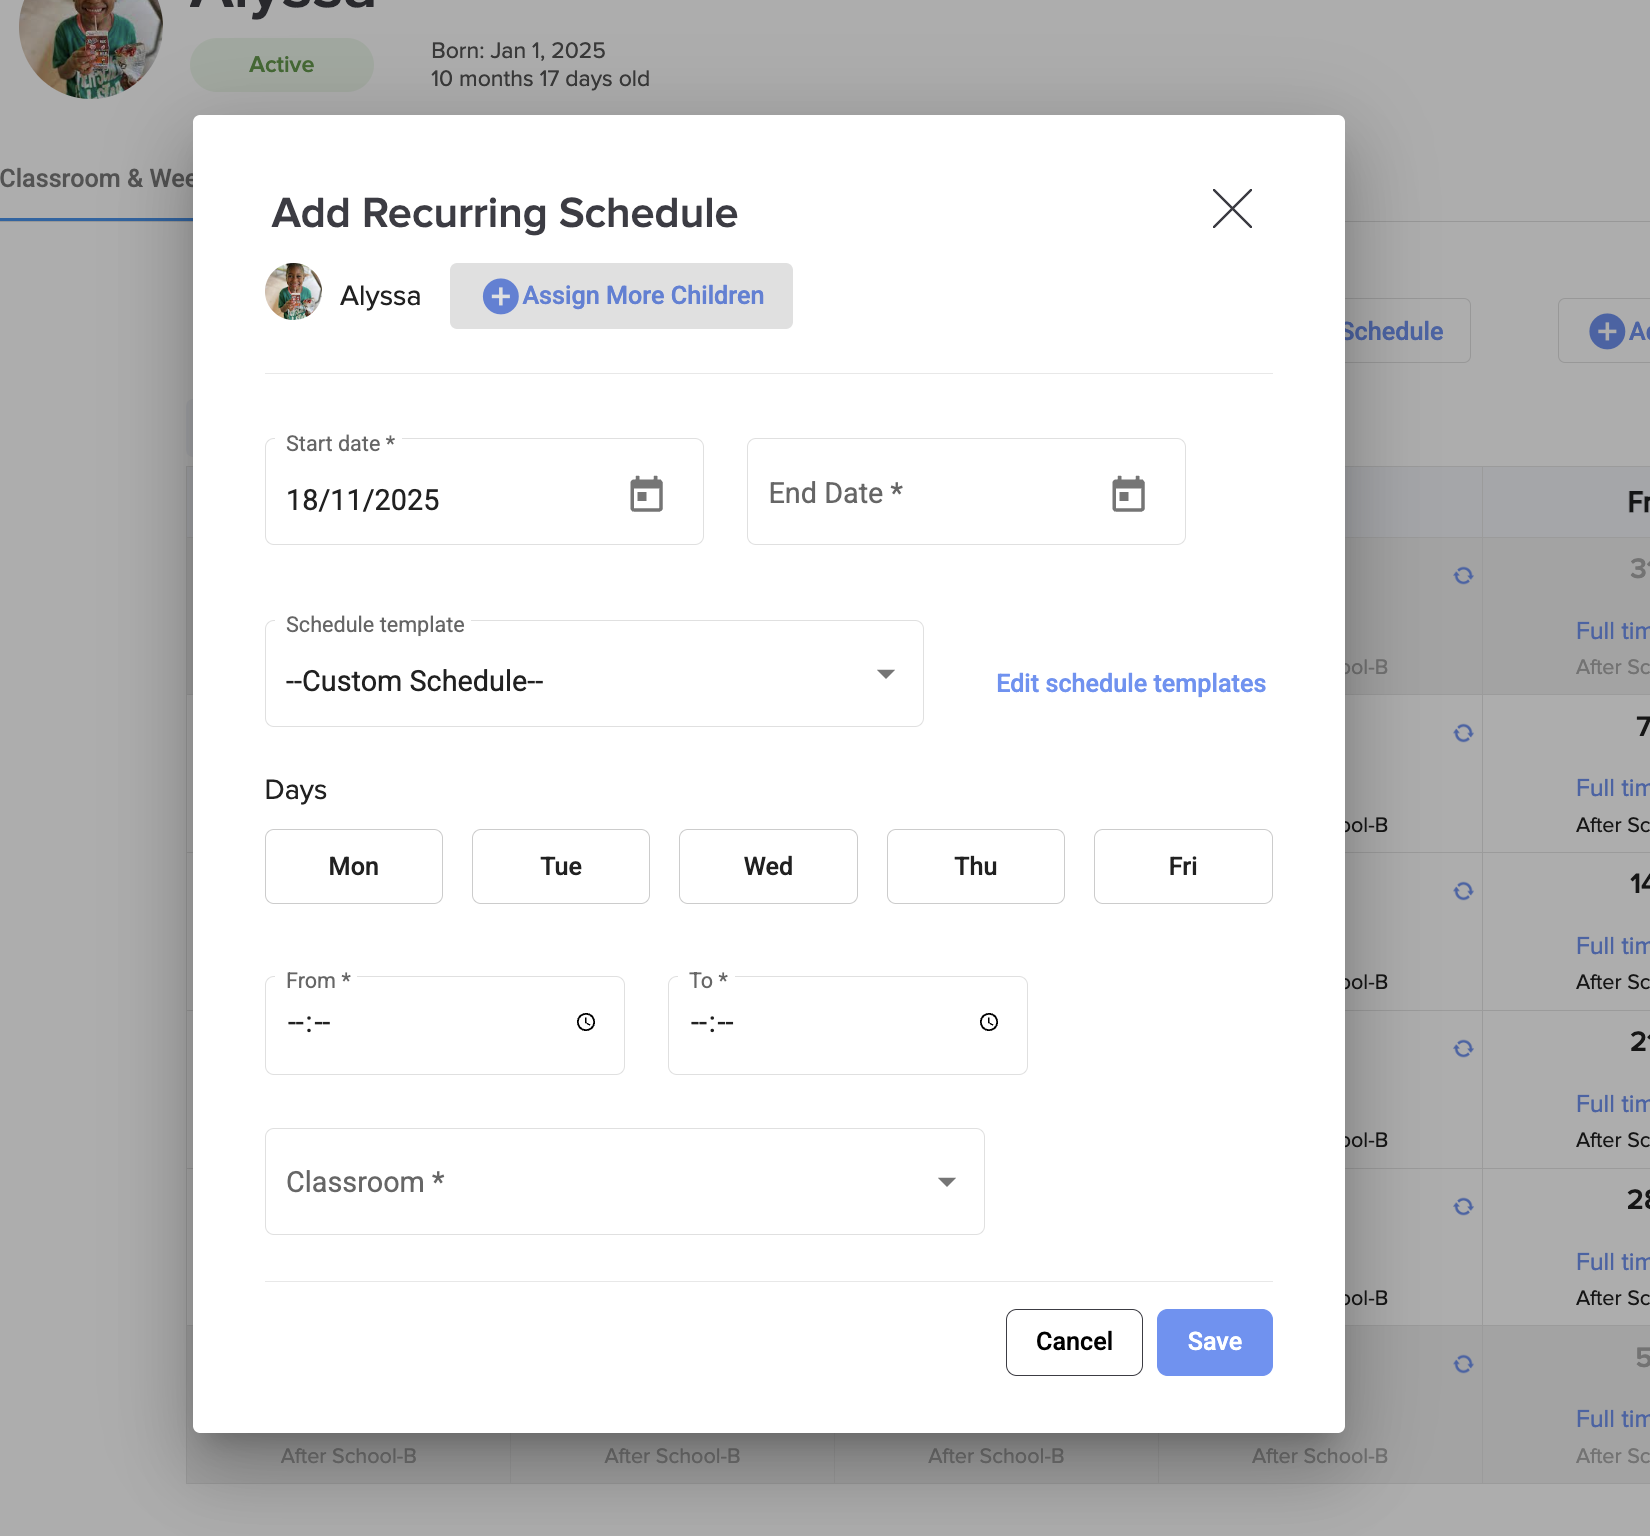
You can also schedule other type of customizations. Go to Classroom & Week schedule , there select Add recurring schedule:
Fill in all the information and also, if required, you can add other children:
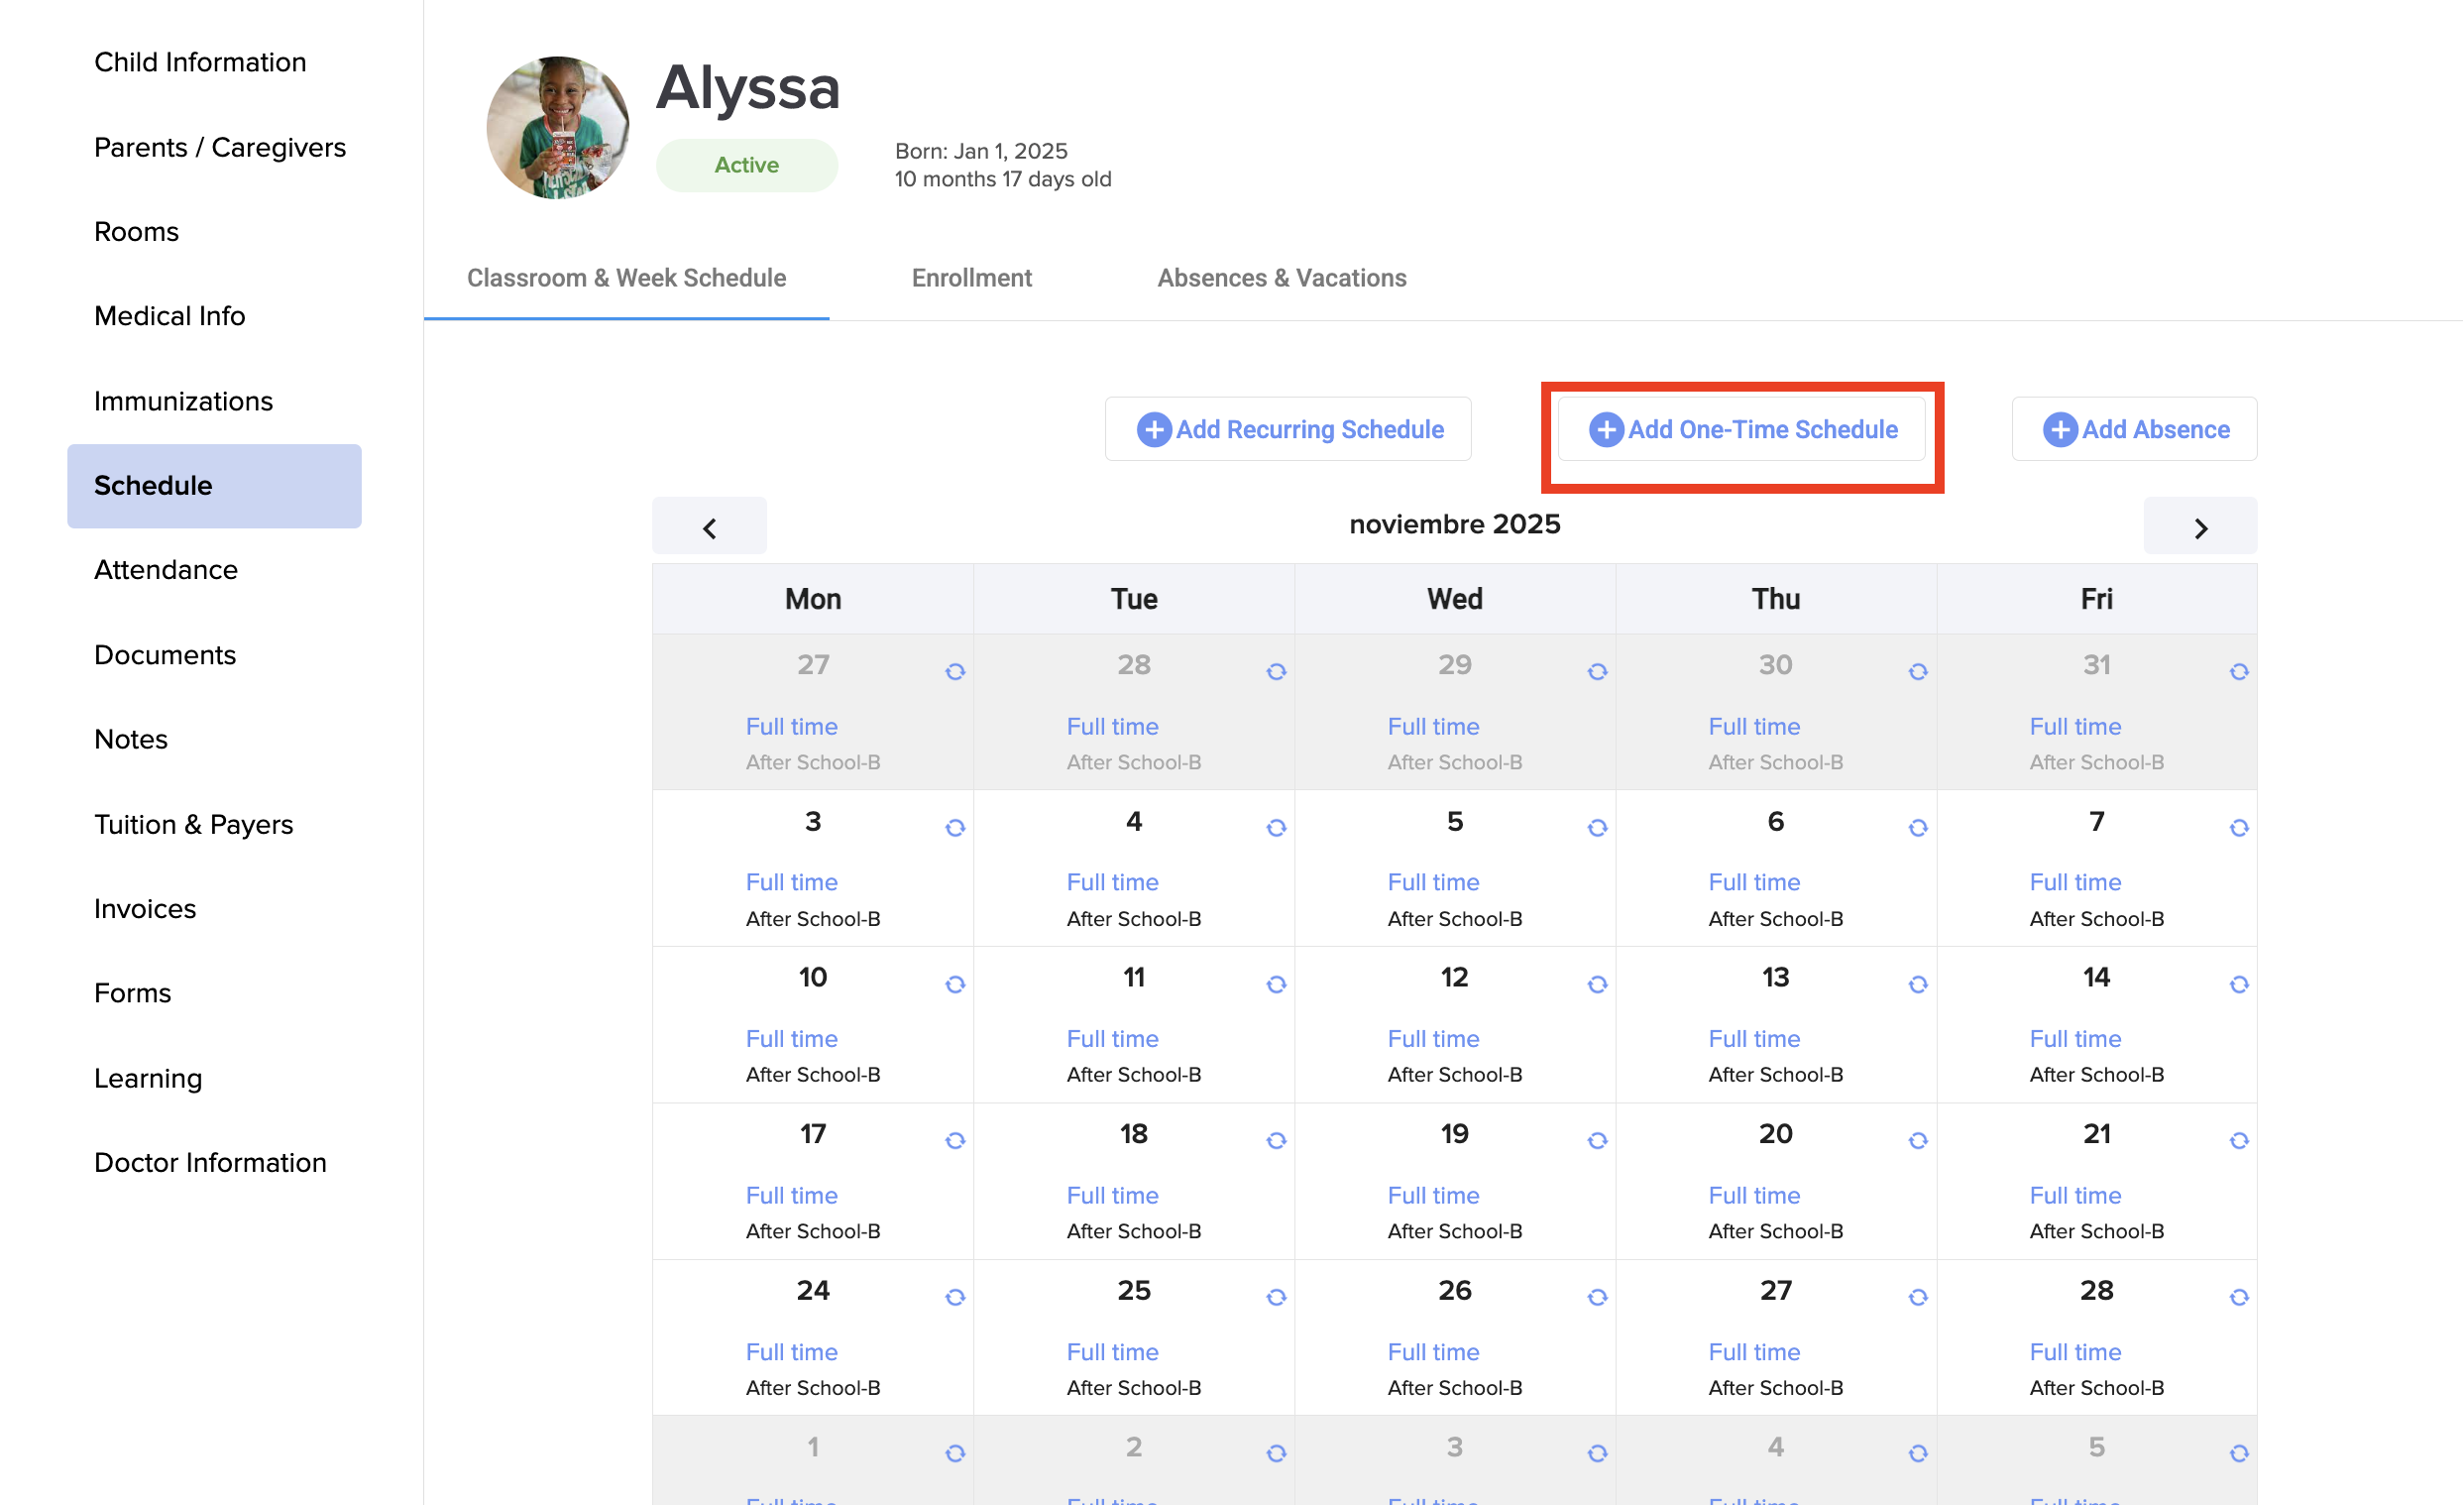
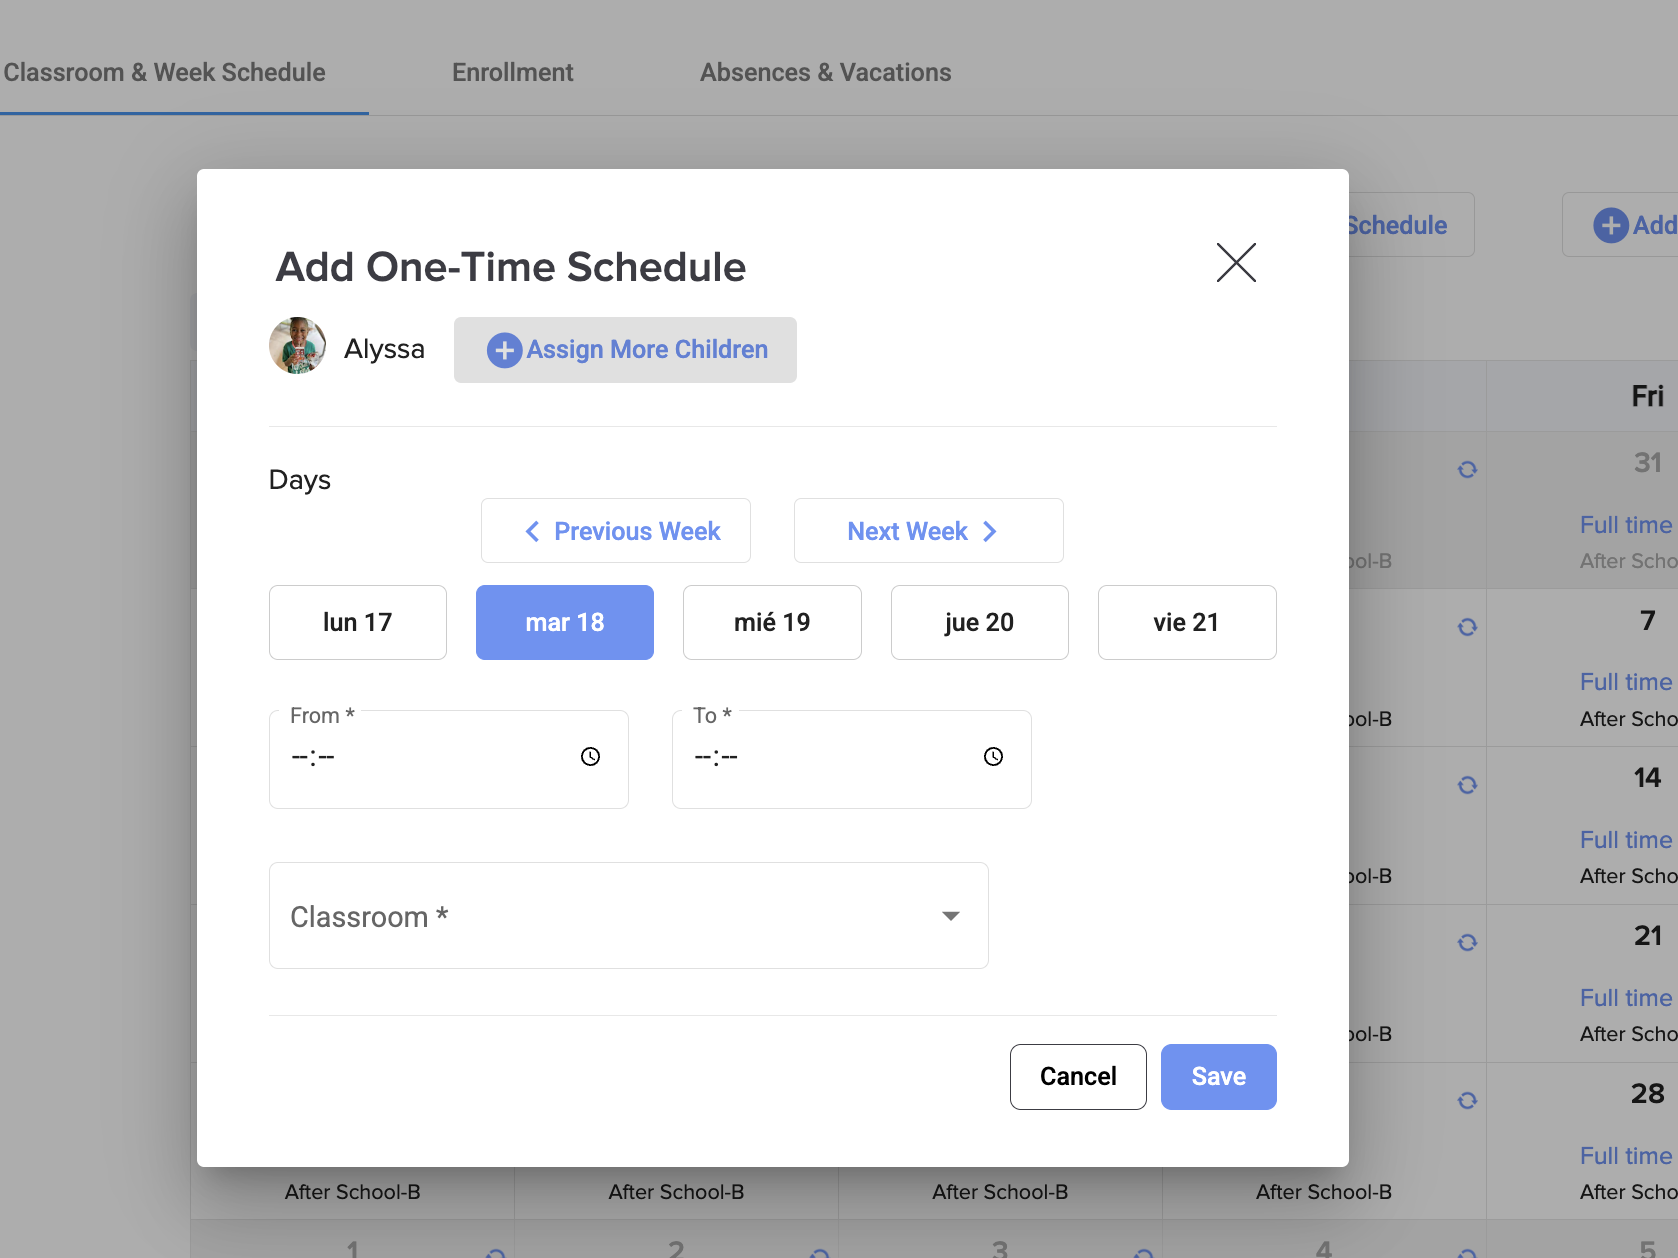
You can also add one-time schedule:
Fill in all the information:
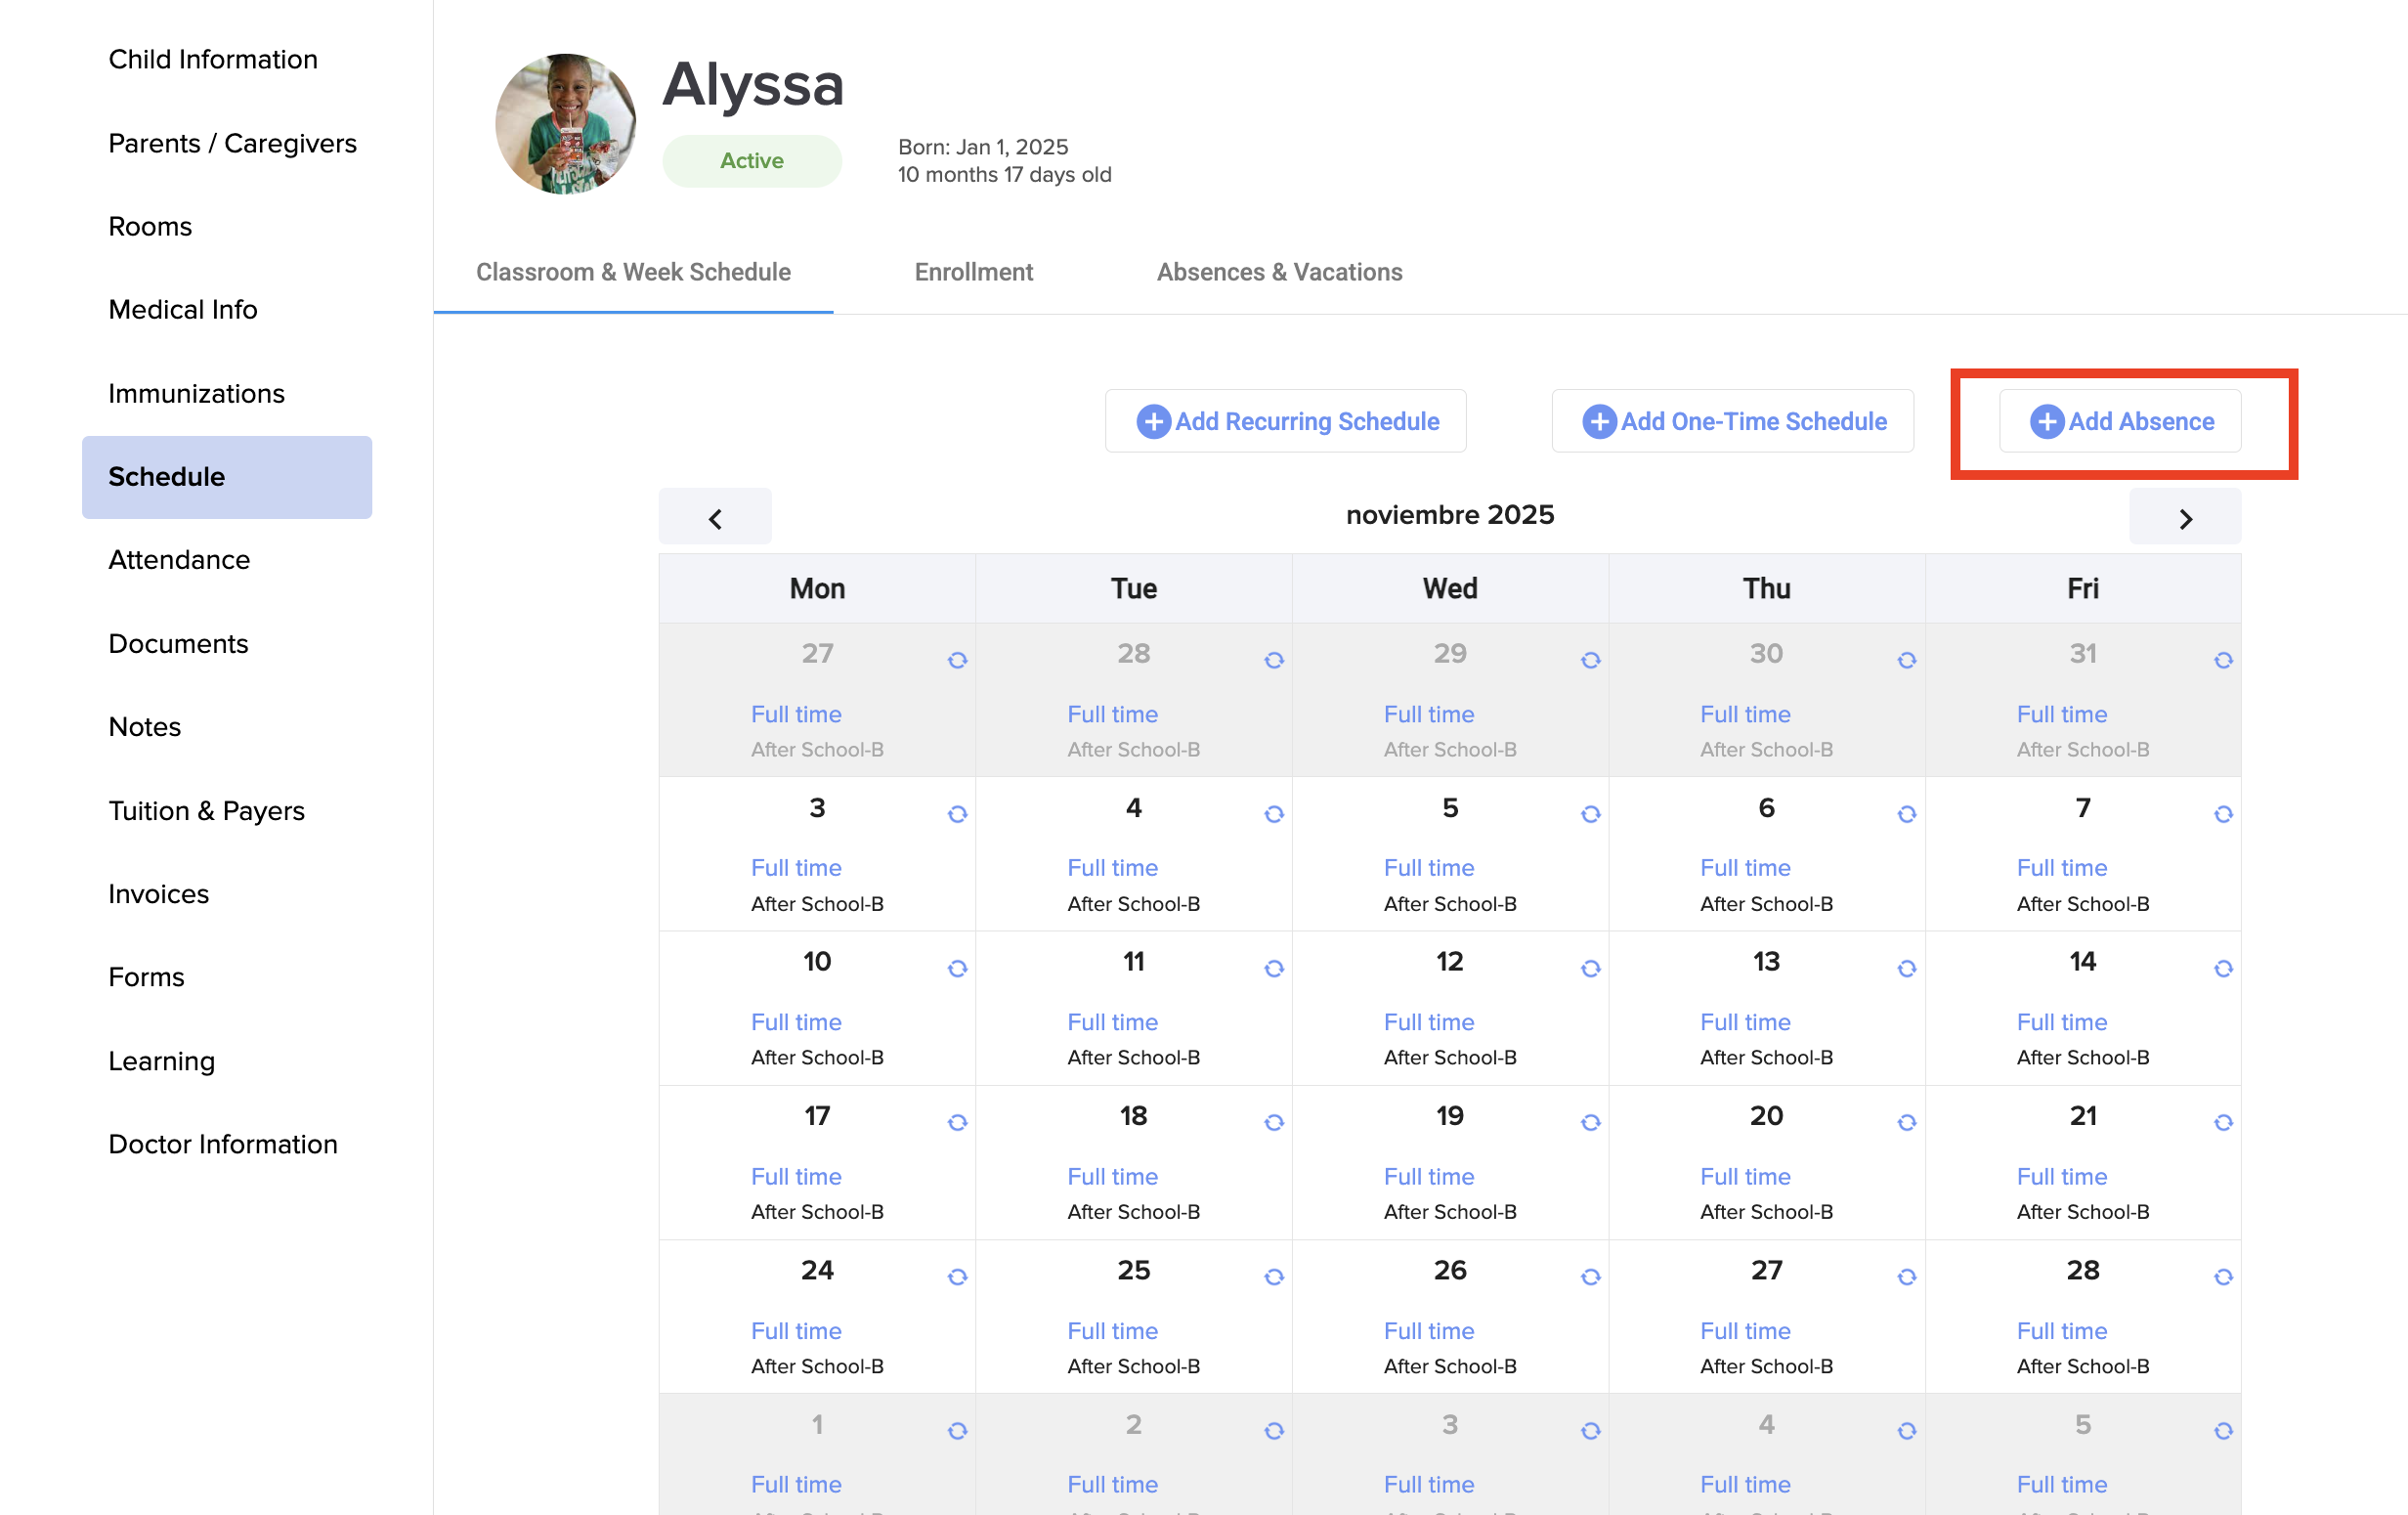
Also you can add absences:
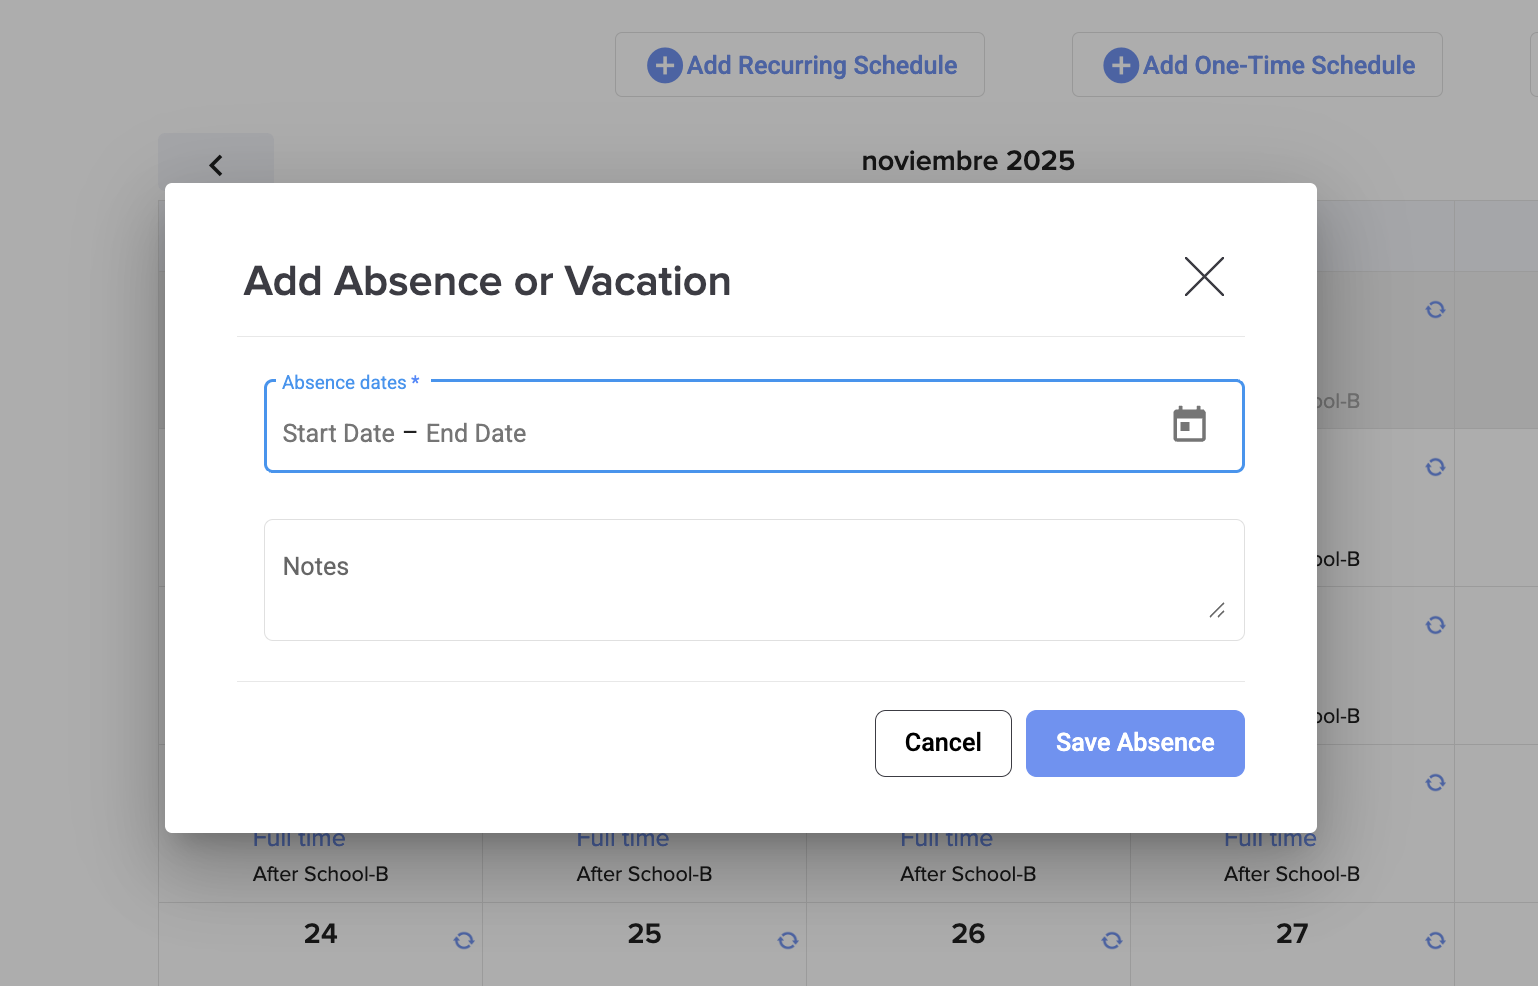
Fill in all the information:
You can use this information for your record, but it is also used on the Attendance Forecast report to help you forecast availabilities, waitlist and enrollment, and staff schedule.
You can also record Absences and classroom changes for the child, they will also be used for the Attendance Forecast report.
Was this article helpful?
That’s Great!
Thank you for your feedback
Sorry! We couldn't be helpful
Thank you for your feedback
Feedback sent
We appreciate your effort and will try to fix the article