As a teacher, you can document every part of your day in the classroom. You can record various events during a child’s day in the form of an entry. This entry will then be added to a child’s timeline, allowing their parent to get a glimpse into what their child has done for the day and be alerted of any critical issues.
Follow the instructions below to make an event entry using the Daily Connect web app.
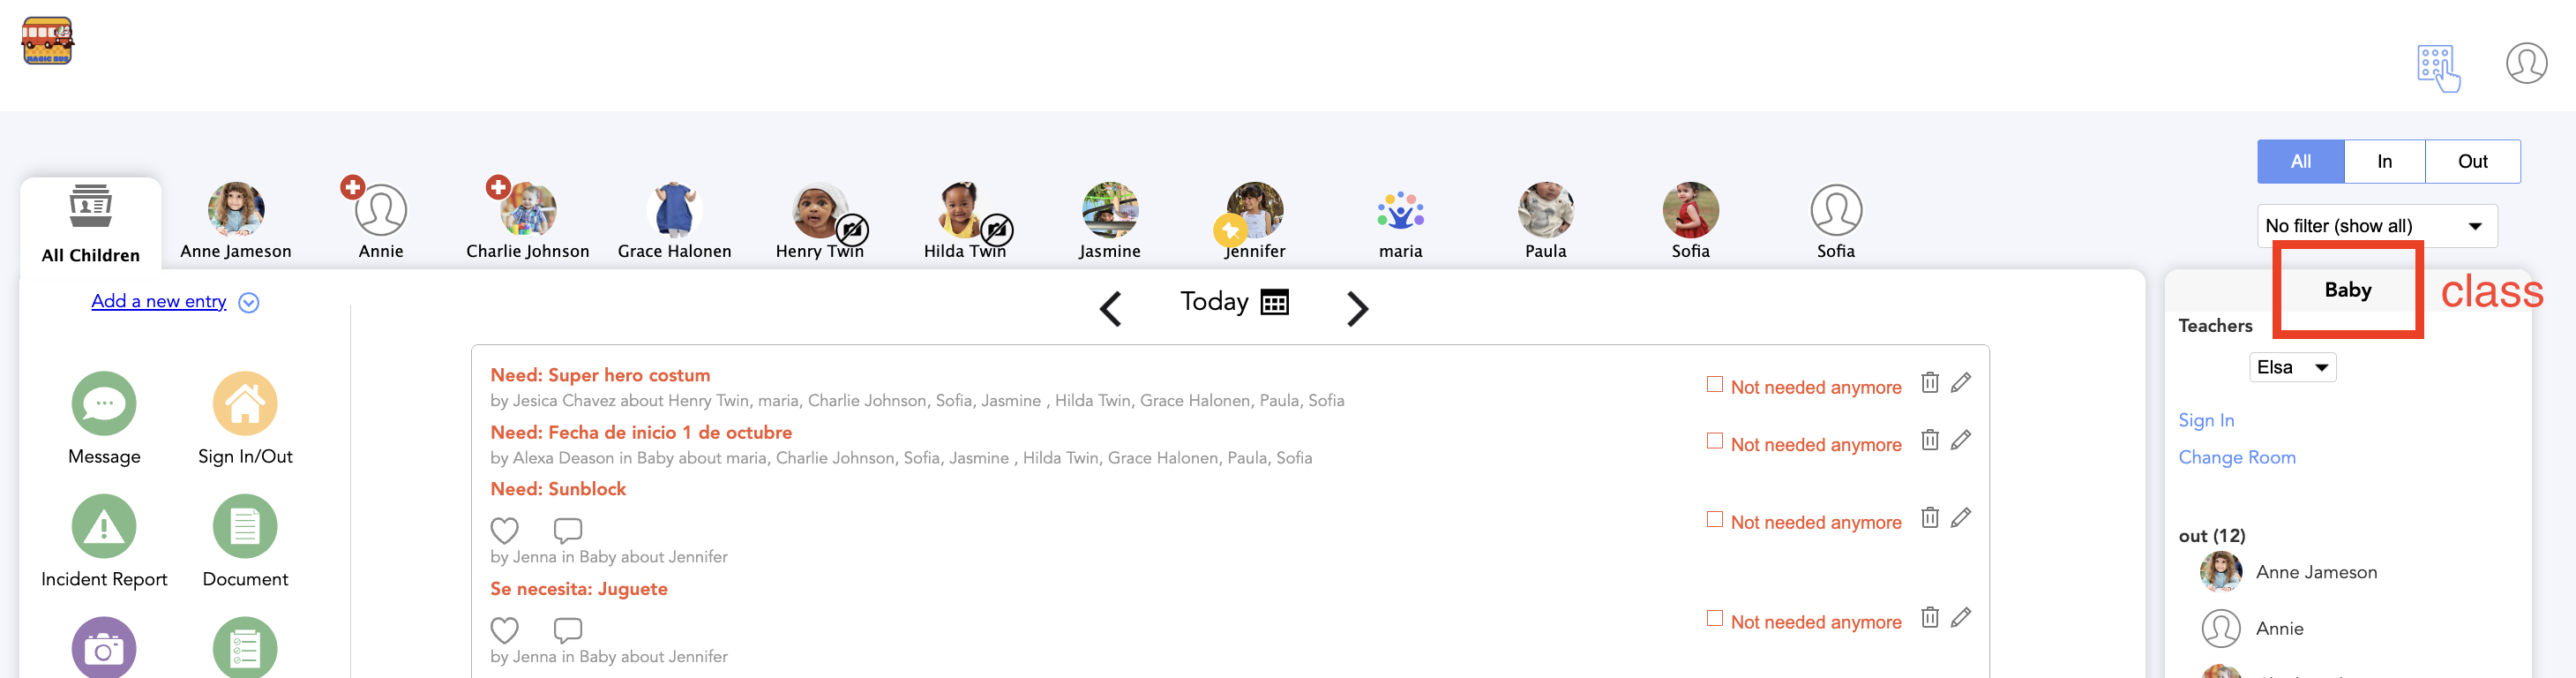
Before recording an event, make sure that you have selected your name and are signed into the right classroom.
To record an event, select the child for whom to make an entry or choose All Children to make a bulk entry for all children.

Choose the type of entry to record.

Indicate the date, time of the event, and the duration if this is required.

Select the type of event if you're presented with several categories or options.
You can select Customize if you wish to enter more categories or options. You will be redirected to the Customize Labels page.
Check the Add to portfolio box to add the entry to the child’s portfolio.

A portfolio is a collection of entries that are only visible to staff but can be shared with parents in a presentation or as a pdf document.
Only observations, photos, diary, activity or milestone entries can be added to the portfolio.
Select Add photo to add an accompanying image to the entry.
Photos can only be added to solid, diaper, activity, incident report, upload photo, diary, milestone, health, potty, medicine, and observation entries.
Select Add Note or complete the Notes field to add a message or description with additional information to the entry.
Select Save. The entry will be displayed on the child’s timeline, indicating the time the entry was made, the teacher that made the entry, and in which classroom the child was.
For more information on teacher accounts and features available to you, go to the How-To Videos at the bottom of the Settings page or watch these video tutorials.
Was this article helpful?
That’s Great!
Thank you for your feedback
Sorry! We couldn't be helpful
Thank you for your feedback
Feedback sent
We appreciate your effort and will try to fix the article